Swizzle Haul-out & 10 days of hell
Our first haul out on Swizzle was a daunting
We chose to use B&V
1. Facilities - B&V Marine had everything we could have hoped for, metal working, wood working, power and electricity at every hardstand, bathrooms, a shower and more importantly, FREE COLD WATER to drink throughout the day. The marina was located within a few minutes ride
2. Price - We were pleasantly surprised to see that the marina we chose was at least one-third the price of other marinas nearby. Why? Because B&V caters to pleasure
3. Staff - Unlike some marinas, B&V
Now for the nitty gritty:
Obviously the #1 reason for haul out is bottom paint. For us, this was a BEAR of a job. The boat had sat long enough to the point that barnacles had to be sanded off. Not just any sanding would do. 60 grit sandpaper and the least to get the beds of the barnacles off, The sanding in itself was 2 days of work and that's not counting the scraping and powerwashing done on the intial lift out.
There are lots of options for antifoul paint once you're ready to paint. We used a local brand to the area, CMP, and ended up doing 4 full coats of antifoul. Add in the epoxy primer and that SIX coats in total. Maybe a bit much but we'll be thankful in the end.


Our second priority for coming out of the water was for a full cut and polish of the hull. This process consists of using am agent with tiny abrasive particles to "cut" any scuffs, scratches and imerfections then you use a polish to fill in the abrasions for a nice, shiny and water resistant coating. This was a rough one mostly due to having to hold the polisher above your head for several minutes at a time. All in all, this process took one full day to complete and the outcome was AMAZING. Almost mirror-like.

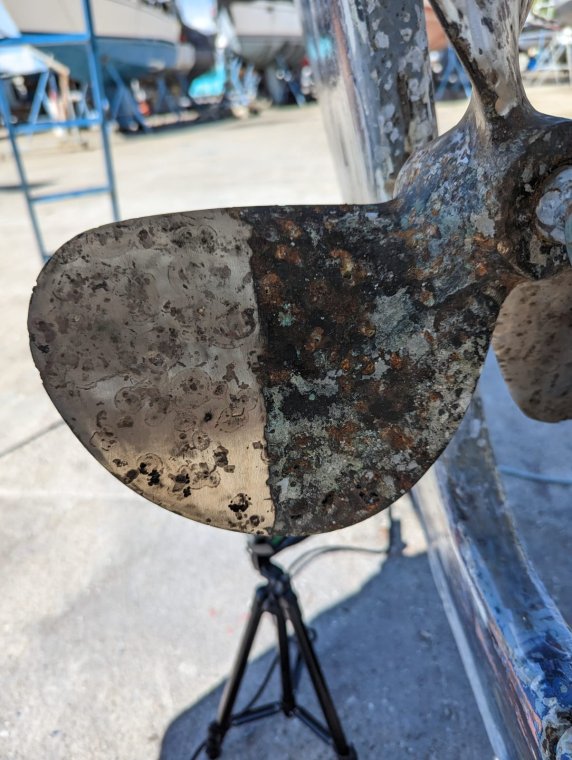
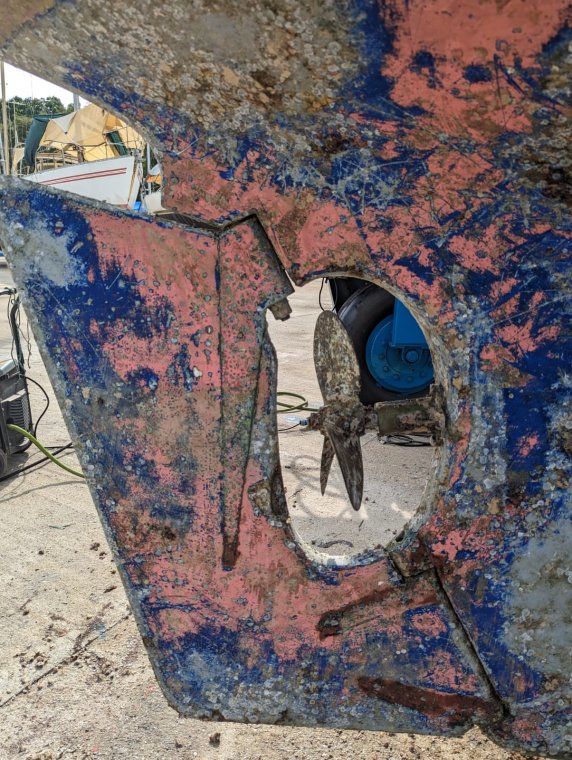
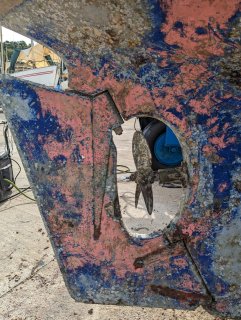
Another piece of work we needed to knock out while on the hard was repairing our rudder AND our propeller. Both we pretty well beat up and the propeller was showing SERIOUS signs of aging, pits and rust holes through the entire thing. For this, an easy, fast and
Lastly, our
-
Paradise Found, Bureaucracy Bound: Our Tails of Sailing and Diving in Thailand (with Furry Friends!)
03.31.2024
-
Navigating the Unexpected: A Sailing Journey of Mechanical Surprises
01.02.2024
-
Swizzle Haul-out & 10 days of hell
05.28.2023
-
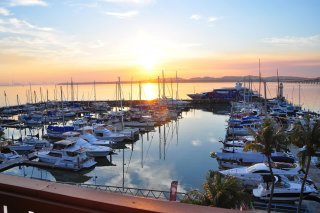
Raffles Marina - Singapore
05.14.2023
-
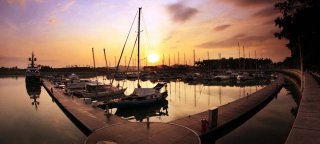
Puteri Harbor - Puteri, South Malaysia
05.14.2023